So, I'm getting into a routine that I can live with. Bring Evan to school and then head to the little gym out here on Feltwell. Its nothing major, but it's quiet and has everything I need: an elliptical and TV. I should convice the hubby to let me get an elliptical...I could just work out on that whenever I wanted to watch TV...maybe it could power my TV? It doesn't match my decor or fit in the room...but a healthy lifestyle is always in style. I need to come up with something better. Anywho. As I'm sitting here updating this, I'm munching on Ritz crackers. Not even the whole wheat kind, they were out at the commissary. So much for that workout.
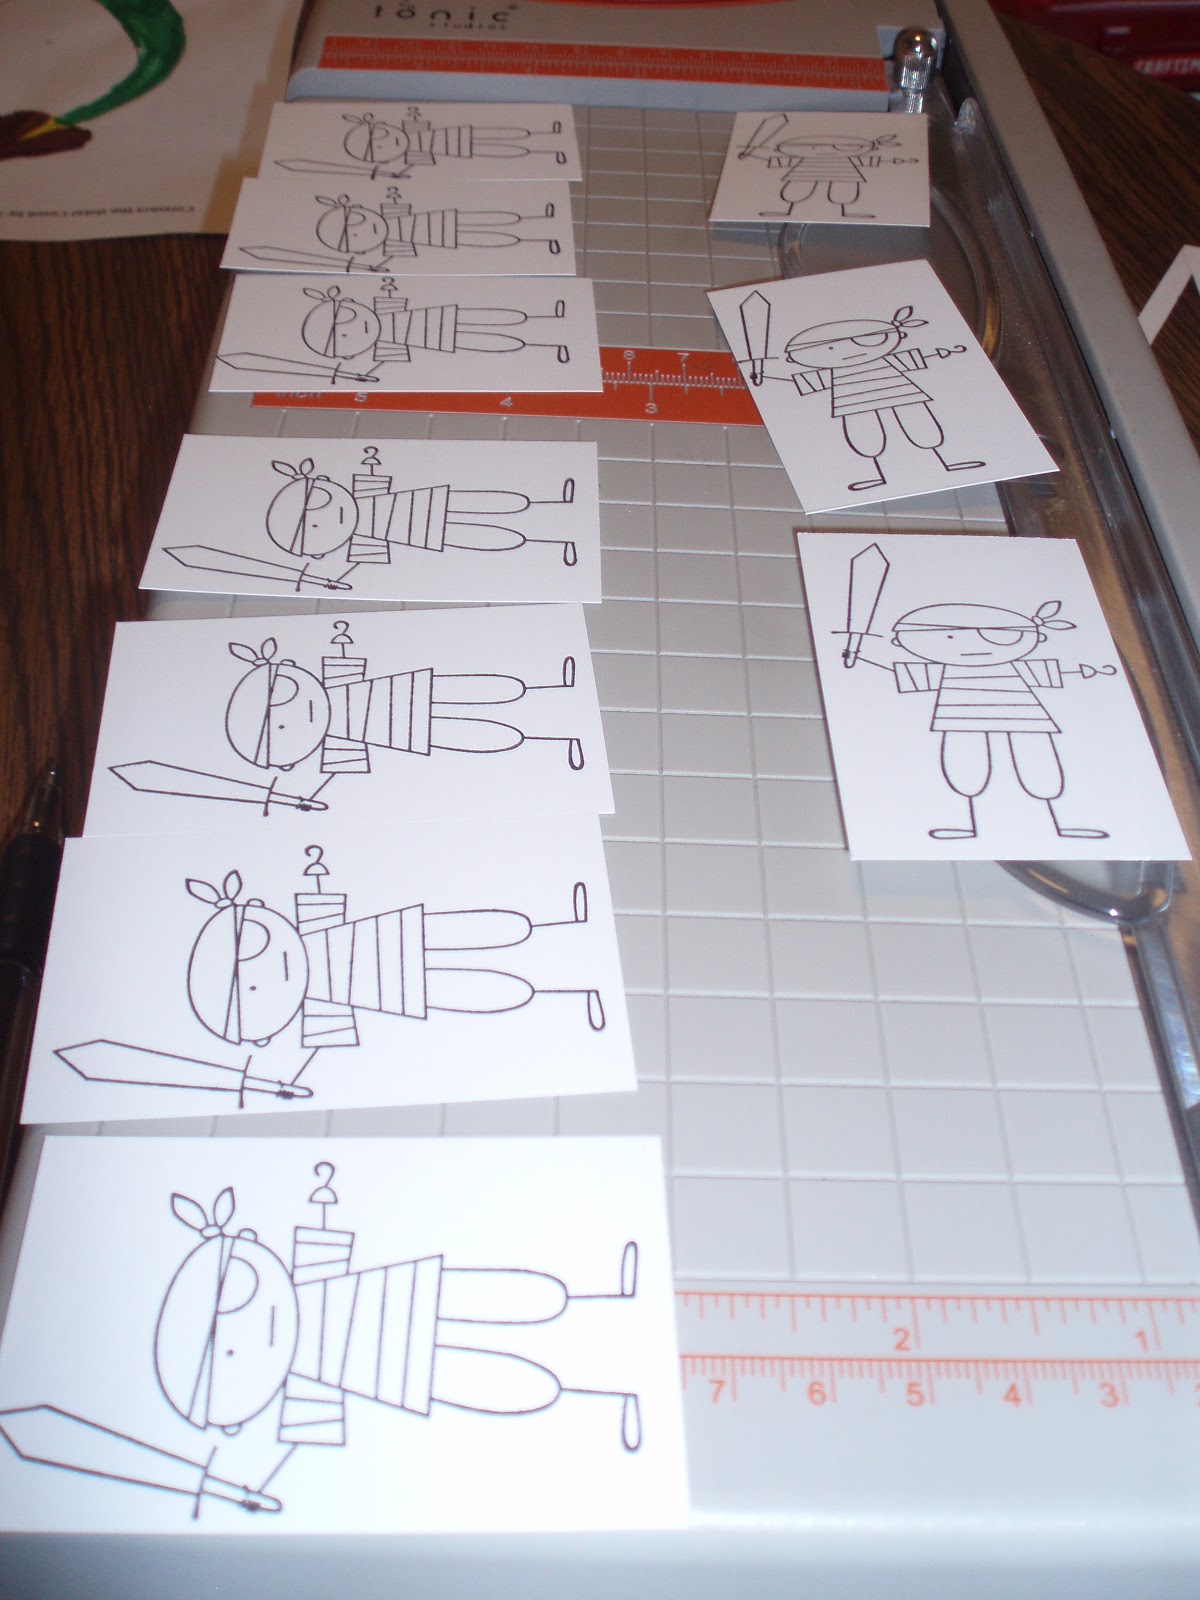
Onto the cards! I made 19 of these little pirate-y cuties for Evan's birthday invites.
When making a large number of cards, its easier and less overwhelming, I like to take it in steps. Measure and cut all card stock and DSP, then stamp, then adhere. You can put that in whichever order works best for you. But, I guaranteed it will save you tons of time, and get you in a good rhythm.
So, super awesome technique time!! Stampin' Up! has a marvelous product called a Blender Pen... How you use it is so genius and saves TONS of money! (Who doesn't like that) I love the Many Marvelous Markers, but I have 90% of the inks...and I only write in basic black...so blender pen we go.
So, what you do is choose the ink you would like to use. In this case, I have Riding Hood Red. Squeeze (not hug) the lid of the ink so that it transfers to the lid. (See below...except it'll look like the woven ink pad)
You then suck up the ink into the blender pen. The fluid in the pen is clear, like a mystery marker. Swirl it around a whole bunch, really get some color in there. Plus, it'll last longer. You will keep repeating this to keep your color.
Before you apply it to your picture, you can dab off excess ink onto a scrap piece of paper, then color your image.
When you are finished, rub your pen onto the paper until it runs clear...now you can switch colors! You can use your blender pens pretty much until the end wears down and isn't up to your standards any longer. Good news, though...There's another tip on the opposite end of the marker! YAY!!
Here is my colored Pirate. I switched to basic black next. But, you can do this over and over and put as many colors as you'd like. Give it a watercolor effect by not staying perfectly in the lines, and outline the edges darker for a shadow! Another cool thing you can do is color directly on your stamps. Repeat the same steps as above except apply the color on the rubber! Just remember to "huff" your inks to warm them up before stamping!
And finally, here is the Master addressing his envelopes to his classmates!
Don't mind the mess...it's been a crafty couple of days! I need my own stamping room (thats bigger than my walk in closet) This habit really impedes on the family because it feeds disaster! Now to lug it all back upstairs....maybe I'll burn off those crackers.
Hope you enjoyed today's post!!
Have a scrap-(or stamp)-tastic day!!


Love it! They came out so cute..Now on to Valentines! lol
ReplyDeleteLOL, I know!! Those will be MUCH easier!
ReplyDeleteYou have a great little blog here Jayme and I loved this tutorial. TFS! I saw you on Stampin connection and I am now your newest follower. Hope you can visit my blog too. I'm #212 on the list. Happy stamping!
ReplyDeletePenny
http://pennytokensstampinspot.blogspot.com
Happy Valentine's Day! I'm following you from Stampin' Connection! I'm #302.
ReplyDeletehttp://createNstamp.blogspot.com/
cute cards and cute lil' helper!!! I'm following from Stampin Connection!
ReplyDeleteGreat blog. The invites are so cute. TFS. I'm following you via SC. #344 on the lisit
ReplyDeleteCarrie Sampsel
www.carriesscrapyard.blogspot.com
Wanted to say that I love your blog so much that I am passing along the Stylish Blogger award to you.
ReplyDeleteVisit my blog for all the details:
www.studiobeedesigns.blogspot.com
Aww!! Thanks everyone!!!! Thank you too Belinda!!! I can't wait to share!
ReplyDelete