So, I'm getting into a routine that I can live with. Bring Evan to school and then head to the little gym out here on Feltwell. Its nothing major, but it's quiet and has everything I need: an elliptical and TV. I should convice the hubby to let me get an elliptical...I could just work out on that whenever I wanted to watch TV...maybe it could power my TV? It doesn't match my decor or fit in the room...but a healthy lifestyle is always in style. I need to come up with something better. Anywho. As I'm sitting here updating this, I'm munching on Ritz crackers. Not even the whole wheat kind, they were out at the commissary. So much for that workout.
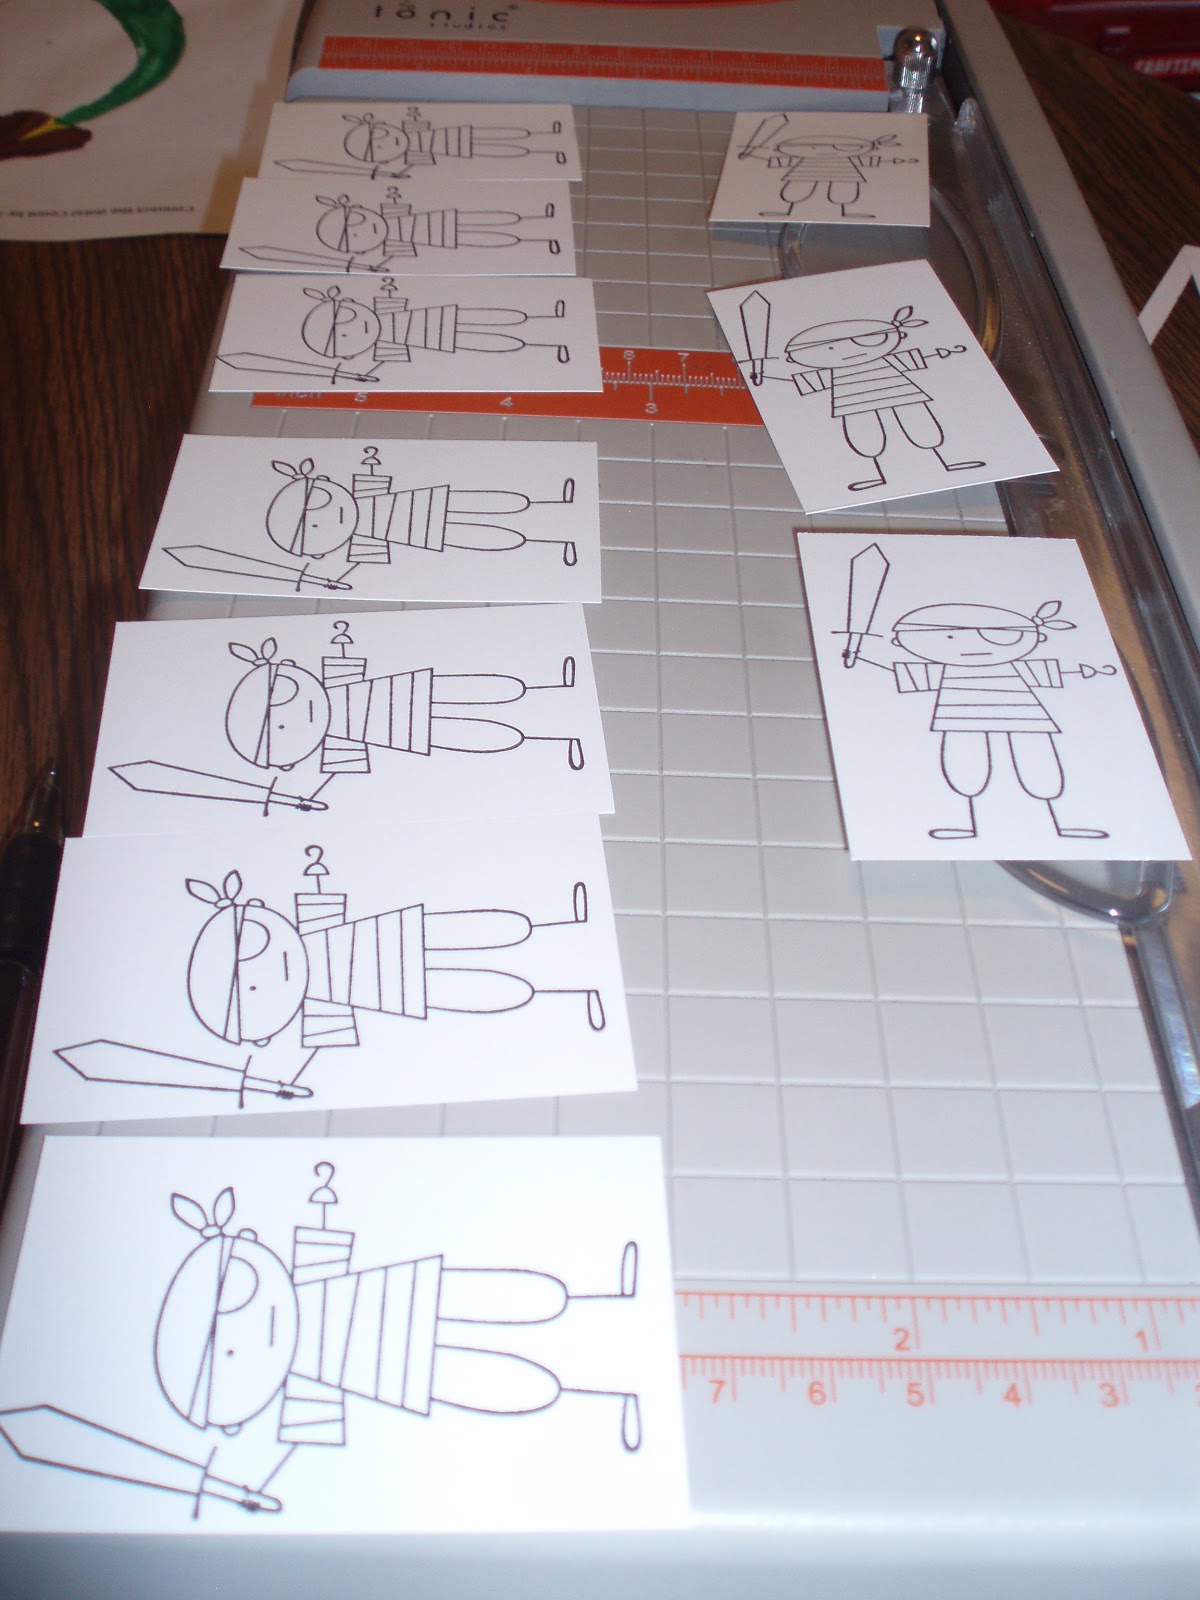
Onto the cards! I made 19 of these little pirate-y cuties for Evan's birthday invites.
When making a large number of cards, its easier and less overwhelming, I like to take it in steps. Measure and cut all card stock and DSP, then stamp, then adhere. You can put that in whichever order works best for you. But, I guaranteed it will save you tons of time, and get you in a good rhythm.
So, super awesome technique time!! Stampin' Up! has a marvelous product called a Blender Pen... How you use it is so genius and saves TONS of money! (Who doesn't like that) I love the Many Marvelous Markers, but I have 90% of the inks...and I only write in basic black...so blender pen we go.
So, what you do is choose the ink you would like to use. In this case, I have Riding Hood Red. Squeeze (not hug) the lid of the ink so that it transfers to the lid. (See below...except it'll look like the woven ink pad)
You then suck up the ink into the blender pen. The fluid in the pen is clear, like a mystery marker. Swirl it around a whole bunch, really get some color in there. Plus, it'll last longer. You will keep repeating this to keep your color.
Before you apply it to your picture, you can dab off excess ink onto a scrap piece of paper, then color your image.
When you are finished, rub your pen onto the paper until it runs clear...now you can switch colors! You can use your blender pens pretty much until the end wears down and isn't up to your standards any longer. Good news, though...There's another tip on the opposite end of the marker! YAY!!
Here is my colored Pirate. I switched to basic black next. But, you can do this over and over and put as many colors as you'd like. Give it a watercolor effect by not staying perfectly in the lines, and outline the edges darker for a shadow! Another cool thing you can do is color directly on your stamps. Repeat the same steps as above except apply the color on the rubber! Just remember to "huff" your inks to warm them up before stamping!
And finally, here is the Master addressing his envelopes to his classmates!
Don't mind the mess...it's been a crafty couple of days! I need my own stamping room (thats bigger than my walk in closet) This habit really impedes on the family because it feeds disaster! Now to lug it all back upstairs....maybe I'll burn off those crackers.
Hope you enjoyed today's post!!
Have a scrap-(or stamp)-tastic day!!
Showing posts with label Tutorials. Show all posts
Wednesday, February 2, 2011
Tuesday, February 1, 2011
TU-TU-TU-TU-TU-TU-TUTORIAL TUESDAY!!
Hope you like the little song...It sounded good in my head! This Tutorial Tuesday I was quite productive. Gym, cleaning, and best of all CREATING!
So, today we will be making these fun little cupcake boxes. Or gift boxes. Call them what you will. One thing they are absolutely....easy and cute! I made them for the guests who will be skating with us this weekend in Leicester for our bout against the Dolly Rockits (http://www.dollyrockitrollers.co.uk/)
So to start out, here is the ingredients:
1 piece of 12 x 8 3/4 card stock. (DSP is just not strong enough)
Sticky Strip (the wider the better)
Bone folder
DSP for (prettying up the outside) You will need two 2 3/4 x 2 3/4 and six 1 1/4 x 2 5/8
Snail (or adhesive of your choice)
Paper snips
Ribbon (enough to make a knot or bow, your choice!)
Score Pal or Fiskars paper trimmer (with swing attachment) with score slide installed. (Or you can use a bone folder if you lost your attachment like me)
So... Here goes. Funny how it works I couldn't find my directions, so of course, I had to deconstruct the box I made a while ago. I didn't take pics of that...it was a little too sad.
So take your CS that's cut down to 12" x 8 3/4, and lay it with the 12 inch side at the top. (Bear with me as I am not a professional photographer....)
Score at 1 1/2", 4 1/2", 7 1/2", and 10 1/2"
Flip paper so that 8 3/4" is now at the top
Score at 2 14/16 (I dont know my measurements so well.. but its 2 lines away form the 3")
Score at 5 14/16 (again, with the 2 lines before the 6")
Flip back to 12" side
Use your trimmer or snips and cut in at 2 1/2 inches ONLY to the horizontal score line!! (NO FURTHER!) And again at 9 1/2" Repeat on other side
Now, cut on the horizontal score line that you cut up to. (these will be your little flaps for your sides. Do this on all 4 sections Don't mind my goof! I was watching the Today Show instead of my measurements...it's all good though. I used clear gift wrap tape and voila! All better!
Fold all score lines! YAY folding! (The least confusing part!) Isn't this exciting how its all coming together!
Now, we are going to snail the DSP onto our base. The two big squares will go on the big squares and the six little rectangles will go on the three spaces on both outsides on the right and left. You'll see. This was a pretty complicated way to explain. (Hmm, now I know why so many use videos for projects)
See, easier said than done! :)
Now to apply sticky strip. I used two pieces on each flap for extra stability.
The sticky strip will be applied on each of the little flaps (where you cut at 2 1/2) and on the big center flaps closest to you. (If you can see in the picture, on the center flaps I put them on the same side, they need to be opposite of eachother.) These will adhere the center square together.
Like so:
You will then adhere the small flap crease right along the edge of the squares laying flat.
Like so:
Now, fold these halves up and they become the sides.
Use your ribbon to hold these together and thats it! You've just made a purdy little cupcake (or treat or gift) box! How a bout that? Now get on out of here and get crafty! As always, if you have a comment, or maybe a better, less confusing way, please, please fill out a comment form!! :)
Until next time....have a spect-scrapular day!! (I just came up with that!!)
So, today we will be making these fun little cupcake boxes. Or gift boxes. Call them what you will. One thing they are absolutely....easy and cute! I made them for the guests who will be skating with us this weekend in Leicester for our bout against the Dolly Rockits (http://www.dollyrockitrollers.co.uk/)
So to start out, here is the ingredients:
1 piece of 12 x 8 3/4 card stock. (DSP is just not strong enough)
Sticky Strip (the wider the better)
Bone folder
DSP for (prettying up the outside) You will need two 2 3/4 x 2 3/4 and six 1 1/4 x 2 5/8
Snail (or adhesive of your choice)
Paper snips
Ribbon (enough to make a knot or bow, your choice!)
Score Pal or Fiskars paper trimmer (with swing attachment) with score slide installed. (Or you can use a bone folder if you lost your attachment like me)
So... Here goes. Funny how it works I couldn't find my directions, so of course, I had to deconstruct the box I made a while ago. I didn't take pics of that...it was a little too sad.
So take your CS that's cut down to 12" x 8 3/4, and lay it with the 12 inch side at the top. (Bear with me as I am not a professional photographer....)
Score at 1 1/2", 4 1/2", 7 1/2", and 10 1/2"
Flip paper so that 8 3/4" is now at the top
Score at 2 14/16 (I dont know my measurements so well.. but its 2 lines away form the 3")
Score at 5 14/16 (again, with the 2 lines before the 6")
Flip back to 12" side
Use your trimmer or snips and cut in at 2 1/2 inches ONLY to the horizontal score line!! (NO FURTHER!) And again at 9 1/2" Repeat on other side
Now, cut on the horizontal score line that you cut up to. (these will be your little flaps for your sides. Do this on all 4 sections Don't mind my goof! I was watching the Today Show instead of my measurements...it's all good though. I used clear gift wrap tape and voila! All better!
Fold all score lines! YAY folding! (The least confusing part!) Isn't this exciting how its all coming together!
Now, we are going to snail the DSP onto our base. The two big squares will go on the big squares and the six little rectangles will go on the three spaces on both outsides on the right and left. You'll see. This was a pretty complicated way to explain. (Hmm, now I know why so many use videos for projects)
See, easier said than done! :)
Now to apply sticky strip. I used two pieces on each flap for extra stability.
The sticky strip will be applied on each of the little flaps (where you cut at 2 1/2) and on the big center flaps closest to you. (If you can see in the picture, on the center flaps I put them on the same side, they need to be opposite of eachother.) These will adhere the center square together.
Like so:
You will then adhere the small flap crease right along the edge of the squares laying flat.
Like so:
Now, fold these halves up and they become the sides.
Use your ribbon to hold these together and thats it! You've just made a purdy little cupcake (or treat or gift) box! How a bout that? Now get on out of here and get crafty! As always, if you have a comment, or maybe a better, less confusing way, please, please fill out a comment form!! :)
Until next time....have a spect-scrapular day!! (I just came up with that!!)
Subscribe to:
Posts (Atom)
-
I just love when I can mash up challenges. Does it work for Friday Mashup as well as it does random challenge blogs? Usually not, lol! B...
-
Hey friends! Today I decided to mashup a few challenges and see what would happen. I chose the Retro Rubber and Watercooler Wednesday chal...
-
Hey there! Didn't you just love Marsha's projects!! She's so talented. Any who, it's been cooooooold here lately! We ...